


Turn Your Photo Into a Custom Sticker That Actually Looks Good
Turning your photo into a sticker sounds easy… until it comes out blurry, badly cut or just off.
The difference between a cheap-looking sticker and one that actually looks good comes down to a few small details most people miss.
Here’s how to do it properly.
Step 1: Start with a Good Photo
This is where everything begins.
If the photo isn’t clean, the sticker won’t be either.
What works best:
- Good lighting (natural light is always best)
- Nothing blocking the subject
- No awkward crops
What to avoid:
- Pixelated images
- Dark or grainy photos
- Photos that are too zoomed out
👉 The cleaner the image, the cleaner the final sticker.
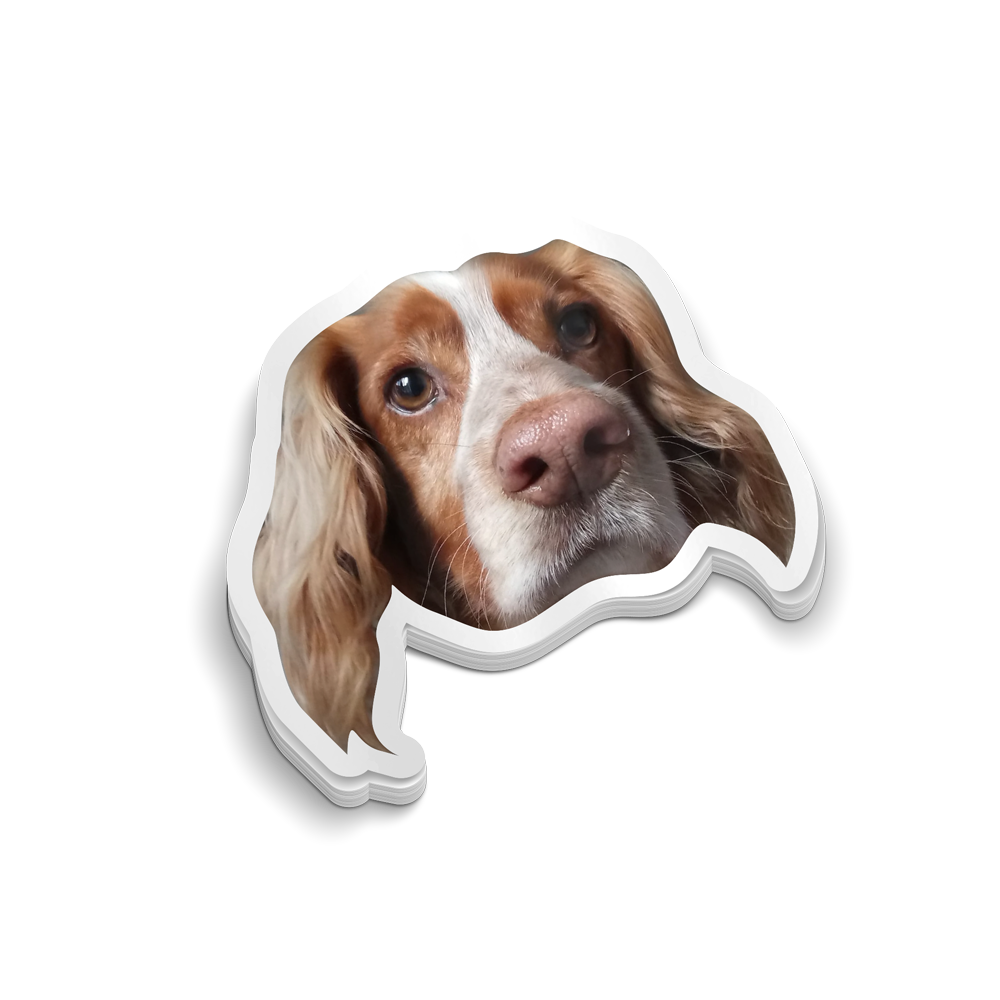
Step 2: Get the Cut Right (This is EVERYTHING)
This is where most stickers fall apart.
A bad cut =
❌ awkward edges
❌ weird shapes
❌ cheap feel
Good sticker cuts:
- Clean die-cut around the subject
- Smooth outlines
- Balanced spacing
👉 This is what makes your sticker feel intentional, not random.
Step 3: Choose the Right Material
This part decides whether your sticker lasts… or doesn’t.
What you want:
- Waterproof vinyl
- UV-resistant coating
- Strong adhesive
👉 Especially important for cars, laptops and outdoor use.
Where Most People Get It Wrong
- Using low-quality images
- Not adjusting for print
- Choosing bad cuts
- Going too detailed
👉 Stickers are small — simplicity wins.
Turning Your Photo Into a Sticker (The Easy Way)
You can DIY everything…
Or use a setup that does it properly.
At Peeler Stickers, we take your photo and:
- clean it up
- optimise it for print
- cut it properly
- print it on waterproof vinyl
So it actually looks like something you’d want to stick anywhere.
Looking to create your own?
Check out our Custom Stickers and upload your design in seconds.

Comments