The Ultimate Guide to Vinyl Cut Stickers: How to Choose, Design, and Apply
Welcome to the ultimate guide to vinyl cut stickers! If you're looking to add a touch of personalisation to your belongings or promote your brand in a unique and eye-catching way, vinyl cut stickers (aka transfer stickers) are the perfect solution. In this comprehensive guide, we'll take you through everything you need to know about choosing, designing, and applying vinyl cut stickers. Whether you're a small business owner, an artist, or simply someone who wants to express their creativity, we've got you covered. From understanding the different types of vinyl and finishes available to tips on creating a captivating design, we'll provide you with the knowledge and insights to make informed decisions. We'll also walk you through the step-by-step process of applying vinyl cut stickers to various surfaces, ensuring a professional and long-lasting result. So, let's dive in and unlock the endless possibilities that vinyl cut stickers offer!
What are vinyl cut stickers?
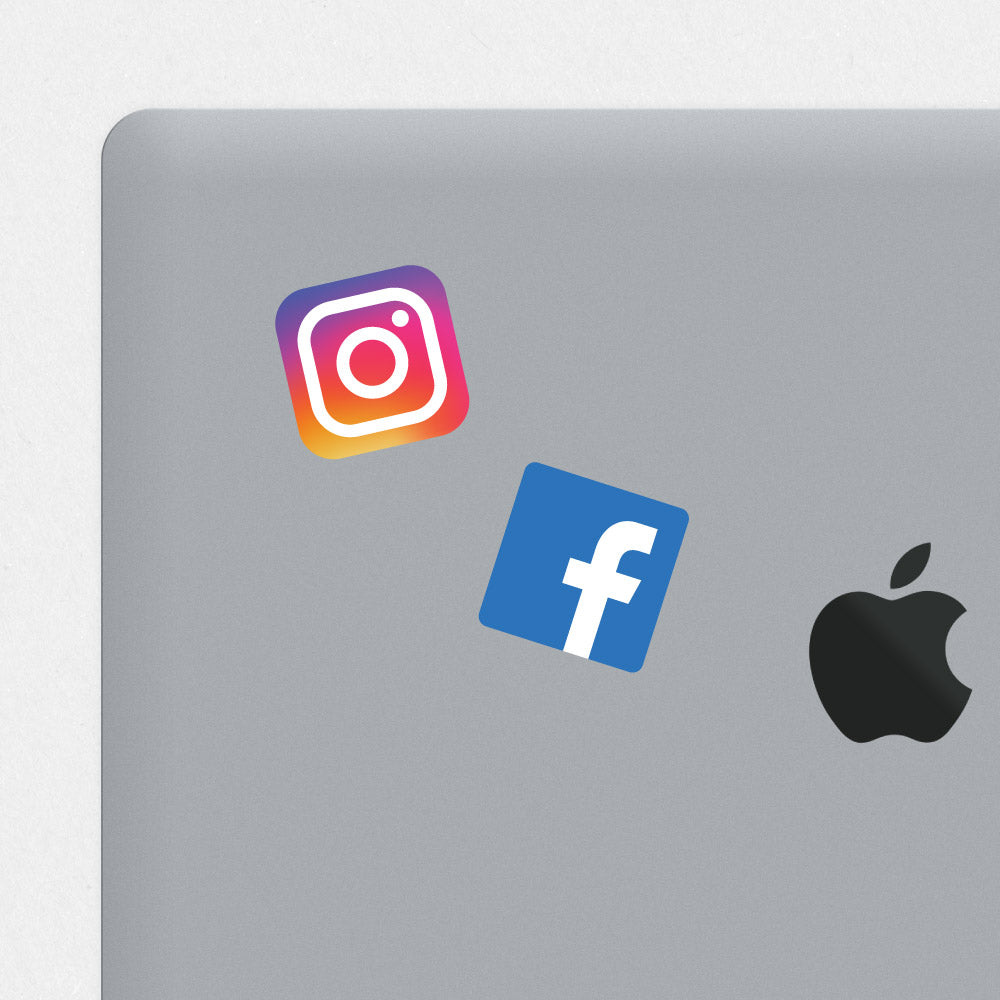
Vinyl cut stickers, also known as vinyl decals or transfer stickers, are a popular form of adhesive signage and decoration. They are made from a thin layer of vinyl material that is cut into various shapes and designs using specialised cutting machines. These stickers are highly versatile and can be applied to a wide range of surfaces, including but not limited to windows, walls, vehicles, laptops, and even clothing. Vinyl cut stickers are known for their durability and longevity, making them an excellent choice for both indoor and outdoor applications. They are available in a wide range of colors, finishes, and textures, allowing you to create customized designs that suit your personal style or brand identity.
There are several advantages to using vinyl cut stickers over other forms of signage and decoration. Firstly, vinyl cut stickers are highly durable and resistant to fading, cracking, and peeling. This means that your stickers will continue to look vibrant and intact for an extended period, even when exposed to harsh weather conditions or regular wear and tear. Secondly, vinyl cut stickers are easy to apply and remove, making them a flexible option for temporary or permanent use. Unlike traditional paint or printed graphics, vinyl cut stickers can be easily removed without leaving any residue or damaging the underlying surface. This makes them ideal for promotional campaigns, seasonal decorations, or personalisation projects. Lastly, vinyl cut stickers offer a high level of customisation. With the ability to choose from a wide range of colors, fonts, and designs, you can create unique stickers that reflect your individuality or capture the essence of your brand.
Choosing the right vinyl for your stickers
When it comes to choosing the right vinyl for your stickers, there are a few key factors to consider. These factors will help you determine the most suitable vinyl type, finish, and color for your specific needs. Let's take a look at each factor in more detail:br/>
1. **Intended Use**: Consider where and how the stickers will be used. Will they be applied to indoor or outdoor surfaces? Will they be exposed to direct sunlight, moisture, or extreme temperatures? Understanding the intended use will help you select a vinyl type that is durable and resistant to the specific environmental conditions.
2. **Durability**: Evaluate the expected lifespan of the stickers. If you're looking for long-term signage or branding materials, choose a vinyl type with a high durability rating. For short-term promotions or temporary decorations, a less durable vinyl may be sufficient.
3. **Color and Finish**: Think about the desired appearance and visual impact of the stickers. Choose a vinyl color and finish that complements your design and effectively communicates your message. Matte finishes are ideal for a subtle and sophisticated look, while gloss finishes offer a vibrant and attention-grabbing effect.
4. **Adhesive Strength**: Consider the surface you'll be applying the stickers to. Some vinyl types have stronger adhesives that work well on rough or textured surfaces, while others are better suited for smooth surfaces. Ensure that the adhesive strength matches the surface requirements to prevent peeling or lifting.
By carefully considering these factors, you can select the right vinyl for your stickers, ensuring a professional and long-lasting result. In the next section, we'll delve into the art of designing captivating vinyl cut stickers that will make a lasting impression
Designing your vinyl cut stickers
Designing vinyl cut stickers is an exciting process that allows you to unleash your creativity and showcase your unique style or brand identity. Whether you have a specific design in mind or need inspiration to get started, these tips will help you create eye-catching and visually appealing stickers:br/>
1. **Keep it Simple**: When it comes to designing vinyl cut stickers, simplicity is key. A clean and straightforward design will ensure that your message is easily understood and that the sticker is visually appealing from a distance. Avoid overcrowding the design with too many elements or text.
2. **Use High-Quality Images**: If you plan to include images in your design, make sure they are high-resolution and of good quality. Blurry or pixelated images will diminish the overall impact of the sticker. If possible, use vector graphics or scalable images to maintain clarity and sharpness at any size.
3. **Choose Legible Fonts**: Select fonts that are easy to read, even at smaller sizes. Consider the overall aesthetic of your design and choose fonts that complement the style and message. Experiment with different font pairings to create visual interest and hierarchy.
4. **Color Selection**: Use colors strategically to create visual impact and evoke emotions. Research color psychology to understand the meaning and associations of different colors. Choose a color palette that aligns with your brand or personal style and ensures readability and contrast between the text and background.
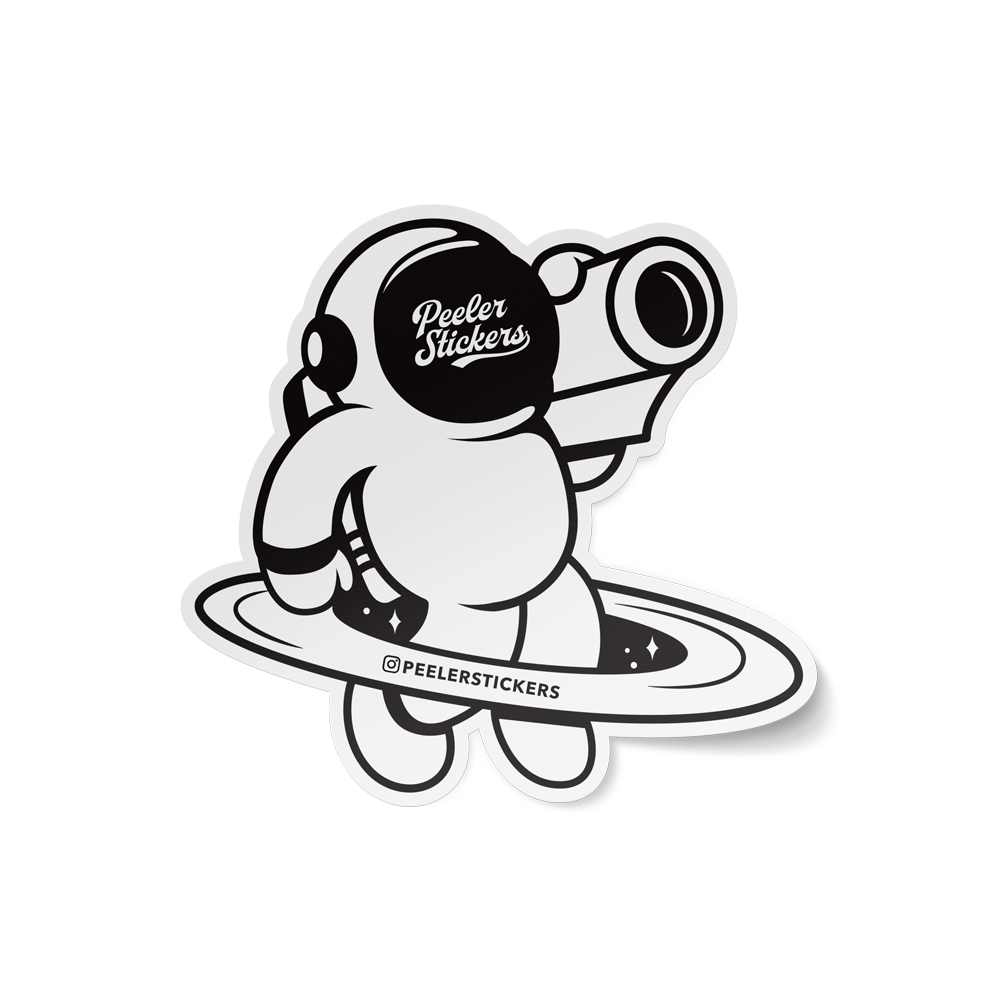
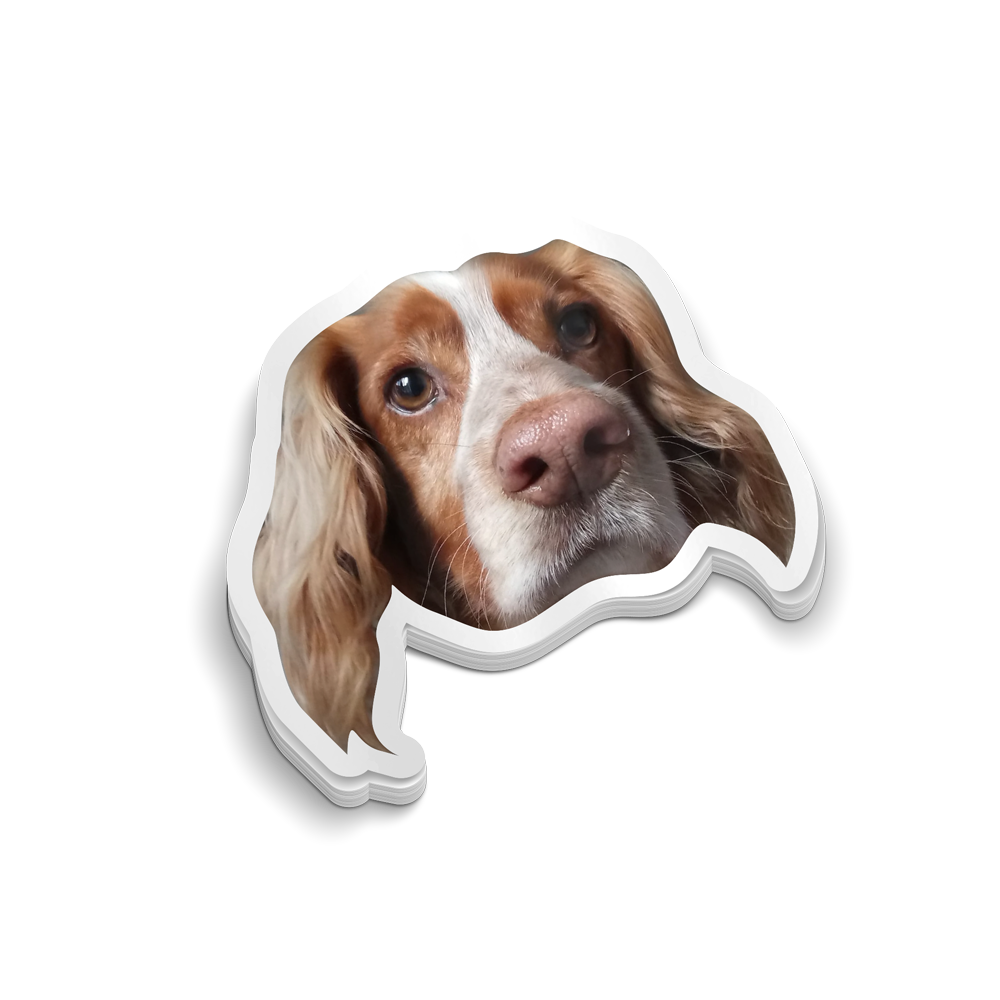
5. **Consider the Shape**: Vinyl cut stickers can be cut into any shape or outline. Think outside the traditional square or rectangular shape and consider incorporating unique shapes that are relevant to your design or brand. Experiment with custom shapes that enhance the visual appeal and make your stickers stand out.
6. **Test the Design**: Before finalizing your sticker design, create a digital mock-up or print a small sample to assess how it will look in reality. Pay attention to the overall composition, legibility, and visual impact. Make any necessary adjustments or refinements to ensure a polished and professional result.
Designing vinyl cut stickers is a balance between creativity and practicality. By following these tips, you can create captivating designs that effectively communicate your message and leave a lasting impression. In the next section, we'll guide you through the step-by-step process of applying vinyl cut stickers to various surfaces, ensuring a seamless and professional finish.
Applying vinyl cut stickers correctly
Applying vinyl cut stickers correctly is crucial to ensure a seamless and professional finish. Follow these step-by-step instructions to achieve the best results:
1. **Prepare the Surface**: Before applying the sticker, clean and prepare the surface to ensure proper adhesion. Use a mild detergent or rubbing alcohol to remove any dirt, dust, or grease. Ensure that the surface is dry before proceeding.
2. **Position the Sticker**: Carefully position the sticker on the surface, ensuring that it is aligned and centered as desired. Use masking tape or low-tack adhesive tape to temporarily secure the sticker in place.
3. **Peel off the Backing**: Slowly peel off the backing paper from the sticker, starting from one corner. Take care not to touch the adhesive side of the sticker to avoid contamination or fingerprints.
4. **Apply the Sticker**: Once the backing is removed, apply the sticker to the surface, starting from one edge and gradually smoothing it down with a squeegee or your fingers. Work from the center outwards to minimize air bubbles and ensure a smooth application.
5. **Remove Air Bubbles**: If air bubbles appear during the application process, use a squeegee or a pin to gently push the bubbles towards the edges. Start from the center and work your way outwards until all air bubbles are eliminated.
6. **Remove the Transfer Tape**: Once the sticker is applied, carefully remove the transfer tape by peeling it back at a 45-degree angle. Take your time and ensure that the vinyl adheres to the surface, not the tape.
7. **Smooth Out Any Wrinkles**: If any wrinkles or creases appear, gently lift the affected area and reapply it, ensuring that it lays flat and smooth against the surface.
8. **Allow Time to Cure**: Give the sticker some time to cure and adhere properly. Avoid exposing the sticker to water, extreme temperatures, or excessive handling for at least 24 hours after application.
By following these steps, you can ensure a professional and long-lasting application of your vinyl cut stickers. In the next section, we'll explore how to remove vinyl cut stickers without causing any damage to the underlying surface.
Removing vinyl cut stickers without damage
At some point, you may need to remove vinyl cut stickers from a surface, whether it's to replace them with new designs or to clean the surface. Here's how you can remove vinyl cut stickers without causing any damage:
1. **Heat the Sticker**: Use a hairdryer or a heat gun to gently heat the sticker. This will soften the adhesive and make it easier to peel off. Be careful not to overheat the surface, as it may cause damage.
2. **Peel off the Sticker**: Once the sticker is heated, slowly peel it off from one corner. Pull it back at a 45-degree angle, taking care not to rush or apply excessive force. If the sticker resists, reapply heat and try again.
3. **Remove Adhesive Residue**: After removing the sticker, you may notice some adhesive residue left on the surface. Use a mild adhesive remover or rubbing alcohol to dissolve and remove the residue. Gently rub the affected area with a soft cloth or sponge until the residue is completely gone.
4. **Clean the Surface**: Once the residue is removed, clean the surface with a mild detergent or glass cleaner to remove any remaining residue or dirt. Rinse the surface thoroughly and dry it before applying new stickers or leaving it bare.
By following these steps, you can safely remove vinyl cut stickers without causing any damage to the underlying surface. Now that you know how to apply and remove vinyl cut stickers, let's move on to the next section, where we'll discuss how to maintain and preserve the quality of your stickers for long-lasting enjoyment.


